Versatile, easy to use, surface EMG biofeedback gives you the ability to know more about muscle activation any time you want. So, once you’ve determined a patient could benefit from biofeedback training, when should you use it?
Adding Value
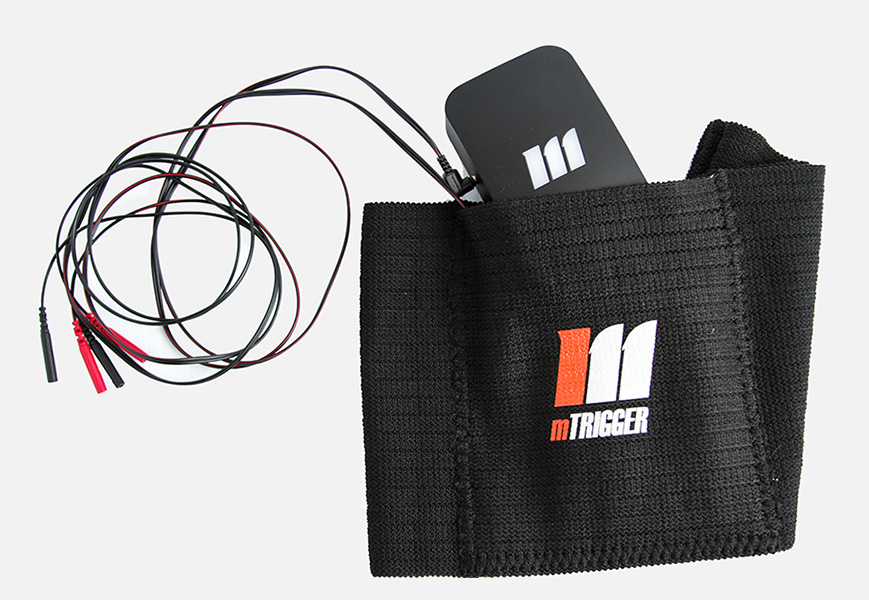
The mTrigger Biofeedback System is all about adding value to the exercises you already do. You are the expert, so you set the goals. Biofeedback makes achieving patient goals more efficient and enjoyable.
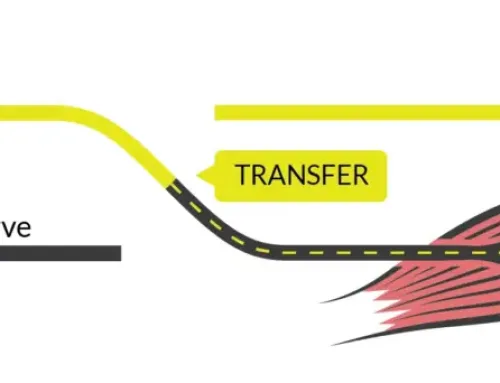
By making a seemingly invisible muscle activation visible, mTrigger biofeedback gives therapeutic exercise real-time impact. When a patient can physically see their efforts appear in front of them, they are able to link exercise to activity to function, yielding better results.
In addition, the audiovisual biofeedback provided opens up communication from a patient’s body, to their brain, to their movements. More on that here and here. Read on to learn how to use biofeedback in the best way for your patients and practice.
Read on for more on using mTrigger for:
Basic Activation
Basic Relaxation
Involved vs. Healthy
Training for Control
Functional Movement
… and additional clinical tips!
Finding Your Flow
So where does mTrigger fit in your practice? Start by asking yourself, “What do I want my patient / athlete to better understand about their performance?”
SCENARIO 1: BASIC ACTIVATION
If you’re trying to wake up muscles after surgery or immobilization, biofeedback will likely fall into a longer portion of your initial training session. Start off with your normal warm-ups and/or manual therapy, then move into activation training using biofeedback for isometrics or basic exercises. Start with 10-15 minutes. Incorporating mTrigger throughout your standard reps – for example, a quad set – helps patients re-learn what proper activation feels like during various exercises. Furthermore, it ensures that they are comparing their efforts to their maximum voluntary contraction. With repeated repetitions, you may notice how the biofeedback impacts fatigue (note: it definitely will) and range of motion. The visuals also keep patients mentally engaged – even during simple exercises – meaning you’re getting the most out of every rep.
TIMING: Use mTrigger in the early stages of rehab; it works to initiate activation of a muscle from an inhibited state and fight against atrophy and mobility issues. Compare activation levels to the healthy counterpart to assess progress in real time. See our case study on rehab following a medial meniscectomy.
EXAMPLE:
SCENARIO 2: BASIC RELAXATION
Similar to basic activation training, relaxation training can be performed using mTrigger biofeedback. Once you have identified the target muscle for inhibition or down training, set up mTrigger. Set your MVC goal at the resting level of activation in the overactive muscle. In this instance, you do NOT want the patient to reach this goal MVC. Remember, this is the opposite of activation training. The level you choose to set may be equivalent to resting tone, or it may be the level of activation you want to discourage during a particular exercise. Let the patient view the feedback during their reps but cue them to keep the bars DOWN in the red zone. Relaxation/inhibition training can be performed using timed reps, or without the timer feature.
TIMING: Use mTrigger as soon as a compensation or overactivation issue is identified; in some cases, an issue of hypertonicity or compensation may not be identified until later in the rehab process, but as soon as it begins to impact recovery, inhibition and relaxation training can help.
EXAMPLE:
SCENARIO 3: INVOLVED VS HEALTHY
Perhaps you want to show your patient how their involved muscle is performing compared to the healthy contralateral muscle. To get a baseline, set your goal for Channel 1, then perform the Neuromuscular Deficit Test at the start of your session. This test compares bilateral activation. Throughout your training session, watch for fatigue in the involved vs. healthy muscles, and gauge symmetry in real time.
TIMING: Use mTrigger‘s Neuromuscular Deficit Test to establish a baseline deficit early on in the recovery process. Track progress by performing this assessment at strategic intervals (either the beginning or end of sessions) throughout the process until symmetry and functional goals are achieved.
EXAMPLE:
SCENARIO 4: TRAINING FOR CONTROL
Training to improve accuracy and control of muscle activation is where biofeedback thrives. Activation imbalances and improper recruitment patterns negatively impact recovery. Using the tactics above helps identify areas of compensation or imbalance in dual channel mode – for example, using the hamstrings to achieve knee extension without engaging the quads, or over-activating the upper traps. Recruitment patterns mean everything for a healthy return to sport and long-term safety. By enhancing muscle activation, you help reinforce muscle memory with every single rep; biofeedback makes the most of the work your patients are already doing.
TIMING: Use mTrigger with various exercises throughout the course of the program to improve muscle memory, accuracy, and efficiency of training; this application is about using biofeedback to engage motor learning for healthier long term recruitment habits.
EXAMPLE:
SCENARIO 5: FUNCTIONAL MOVEMENT
When pain or injury prevent normal activation levels during exercise or functional movements, biofeedback can help assess the problem and monitor performance. Exercising with biofeedback during dynamic movements shows activation levels during different stages of a movement pattern. This helps to ensure proper muscle engagement during functional activity. Making sure patients are not only performing a functional movement correctly, but recruiting accurately, is critical for injury prevention and reinforcement of foundational movement.
TIMING: Use mTrigger for screening or functional testing to identify any muscle activation issues. For rehab programs, use biofeedback consistently as you increase exercise difficulty to provide input, data, and keep patients motivated.
EXAMPLE:
Additional Notes on Timing
When it comes to the timing of using mTrigger in a training session, consider the following:
TIMING IN SESSION… Whether you use mTrigger at the beginning, end, or throughout your rehab session, consistency is the name of the game.
NEUROMUSCULAR DEFICIT TEST… You may use the NMDT as a benchmark for progress towards symmetry; try to perform this assessment consistently at either the beginning or end of your sessions. Muscle fatigue tends to impact non-dominant, atrophied, or inhibited muscles more than their healthy counterparts. Because of this, assessments performed at the end of a training session may reflect a slightly higher deficit. Ensure you are comparing apples to apples!
GAMING… Incorporating games into a training session is a fantastic way to engage a patient’s competitive nature and get them to maximize their efforts. Again, you may want to consider whether you’re performing gaming at the beginning or end of a session and accommodate for fatigue – lower the goal if you switch to games in the latter part of your session.
MEASUREMENTS OVER TIME… We recommend using mTrigger consistently throughout your treatment programs as long as it adds value to your sessions. From prehab evaluations, to post-op isometrics, to functional drills, to non-operative rehabilitation, having real-time sEMG data improves patient performance as well as your ability to make evidence-based decisions. You will see average maximum contraction numbers increase as other indicators of progress – muscle mass, strength and force metrics, ROM – move your patients closer to return to function.
Key Takeaways
- Know what you want to know
- Add in mTrigger where you want more bang for your buck
- Keep it consistent for the best results
Not yet an mTrigger user?
Get in touch with a rep today or sign up for our mailing list below to learn how the mTrigger Biofeedback System could bring value to your practice.


Leave A Comment