Using mTrigger Biofeedback to Identify Movement Compensations

By |2024-09-23T12:48:26-04:00November 10th, 2024|Latest Articles|

As exercise specialist, it is critical that we not only instruct patients correctly in their exercises, but also ensure those exercises are being done correctly.

The body is a master compensator, especially when pain, injury, or dysfunction is involved. Often, poor and compensatory movement patterns develop slowly over time and are difficult to break. They become so engrained in the brain that patients often don’t even realize their movement mistakes.

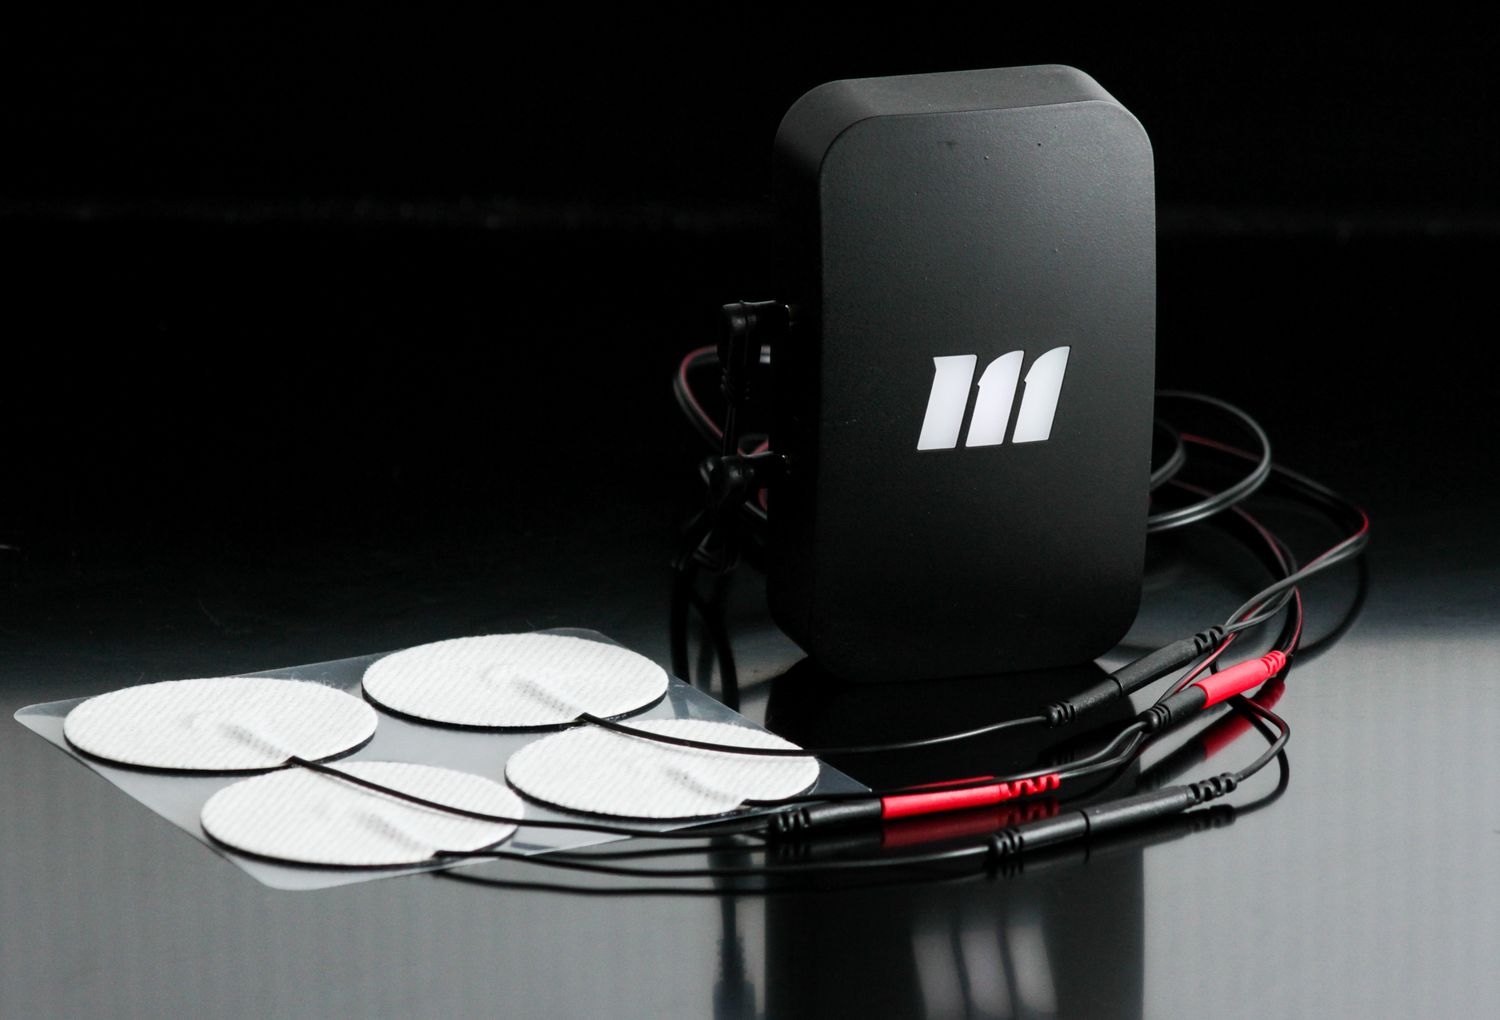
mTrigger biofeedback is an excellent tool to not only identify patient’s compensatory movement patterns, but to teach them where to begin correcting their movement dysfunctions.

Some common places for movement compensations to manifest are post operatively (think gait after surgery), as a result of low back pain (the example we will use below), from a loss in range of motion, swelling, decreases in strength, and many more situations. As we will see in the videos examples to follow, movement compensations are not always strikingly obvious. Sometimes the movement looks rather decent, but the patient still has pain. This is where the additional information provided by mTrigger sEMG biofeedback can be profoundly insightful.

Clinical Evaluation

To begin with, lets look at how to identify compensatory movement patterns with mTrigger biofeedback in the clinic. As an example, we will use low back pain and glute activation. But remember, this can be used for many other muscle groups and movement patterns. Let’s start with the step-by-step process.

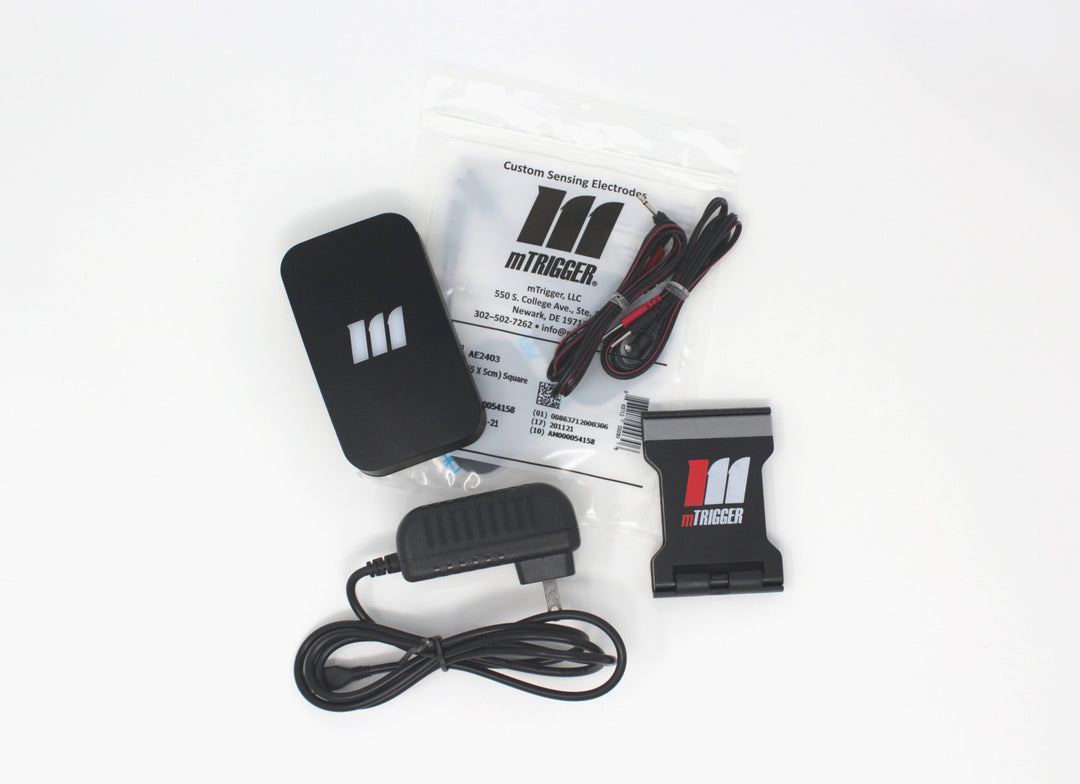
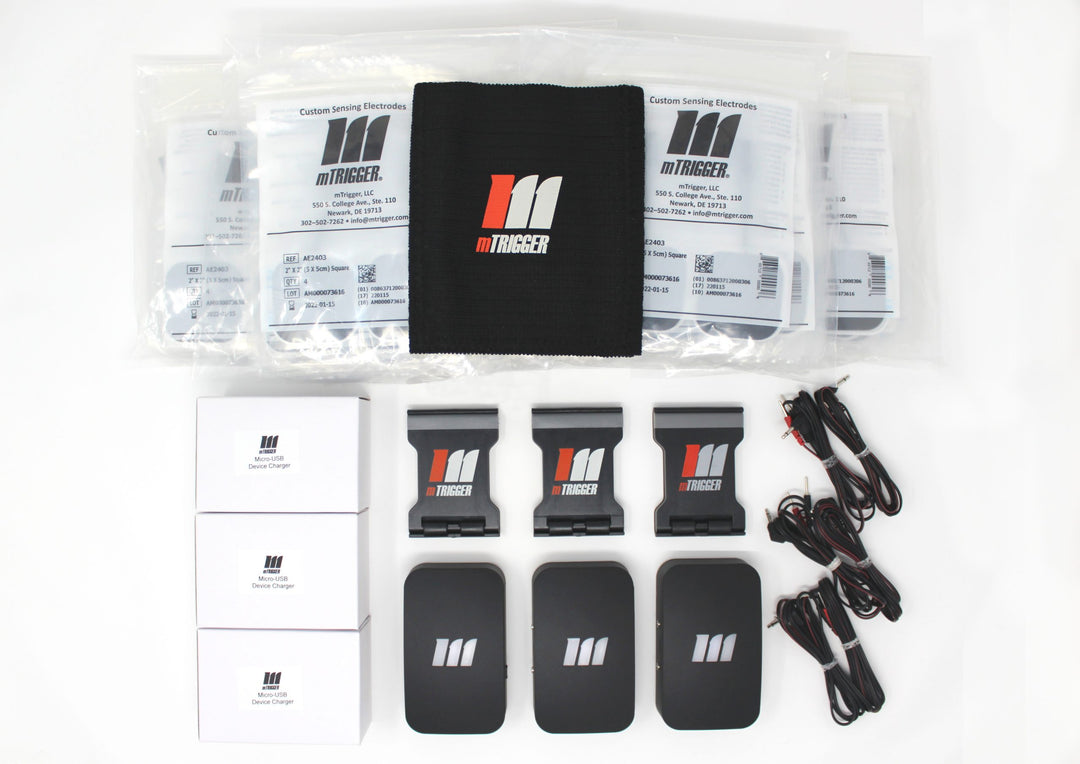
  1. Turn on and connect the mTrigger device. More here if you need help on this step.
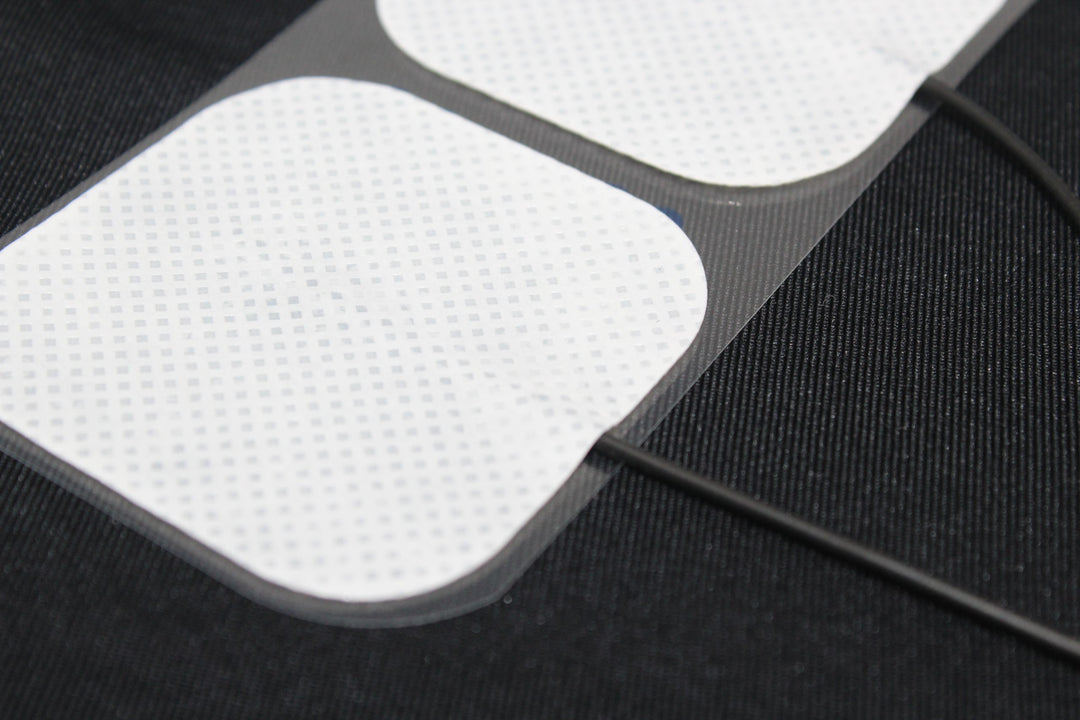
  2. Determine if you want a single or dual channel set up and place electrodes on the target muscle.
    • With this example, we will use a dual channel set up with electrodes on the gluteus maximus bilaterally to look at glute max activation during hip extension in a prone plank position.
  3.  Enter Settings to set MVC goals and Time Settings.
    • These settings will be unique to your patient, exercise selected, muscle group, and their injury/post op status. This will  provide more details on setting your MVC goal and Time Setting.
  4. Enter Train and instruct your patient on the exercise they are to perform
    • Remember you are using this as an assessment, so you don’t want to give too many instructions on how to do the exercise correctly or what you are looking for. In this case, I simply instructed the patient to perform a prone plank with hip extension.
  5. Watch and see what happens with muscle activation!
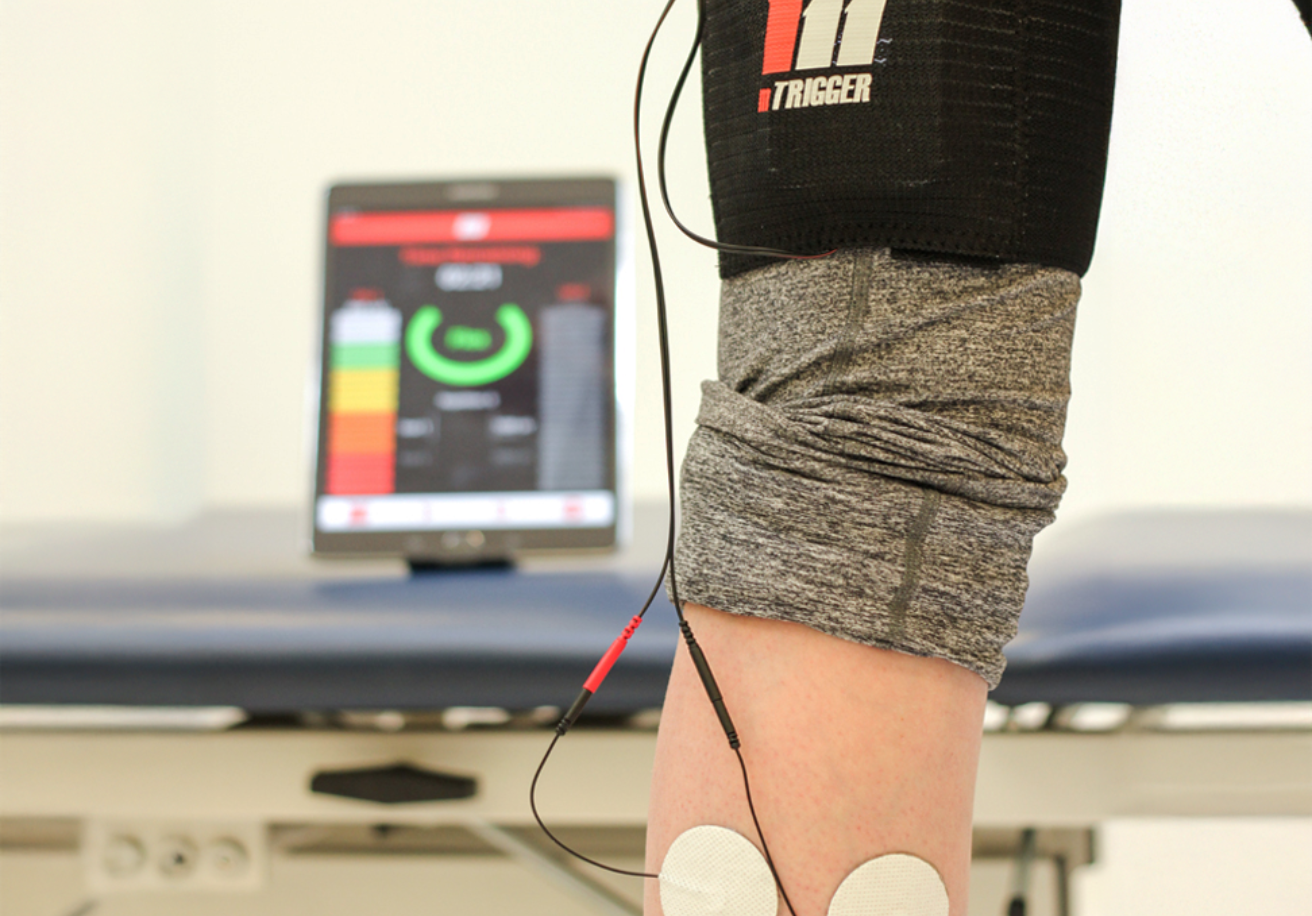
      • As the patient performs the exercise, watch the visual biofeedback meter to see what is happening with the activation of both glute max muscles. 

    • During this exercise, she still complains of low back pain which makes sense given that we see little to no glute activation on the right side when she performs hip extension. She has learned to compensate by using lumbar extension. She had the same issue on the other side. We will discuss ways to use mTrigger biofeedback to address this compensation shortly.

During this next example, we see a similar pattern unfold. Let’s go through the steps again.

  1. This time, we used a single channel set up with the electrodes on the left glute med/max to look at muscle activation during a step-up exercise.
  2. Enter Settings and select single channel, set your MVC goal, and adjust time settings as necessary.
  3. Enter Train and instruct patient on exercise they are to perform.
    • The patient was asked to perform a high step-up exercise with the weight on the contralateral side.
  4. Observe muscle activation during the exercise.
      • Notice a similar pattern? Instead of achieving hip/pelvis stability during the step up and using the glutes to “drive” herself upwards, there is hardly any glute activation at all! This was the case on both sides, right and left, when tested. 

Now we can take this information regarding muscle activation and compensatory movement patterns and apply it to patient care and exercise prescription.

Patient Application

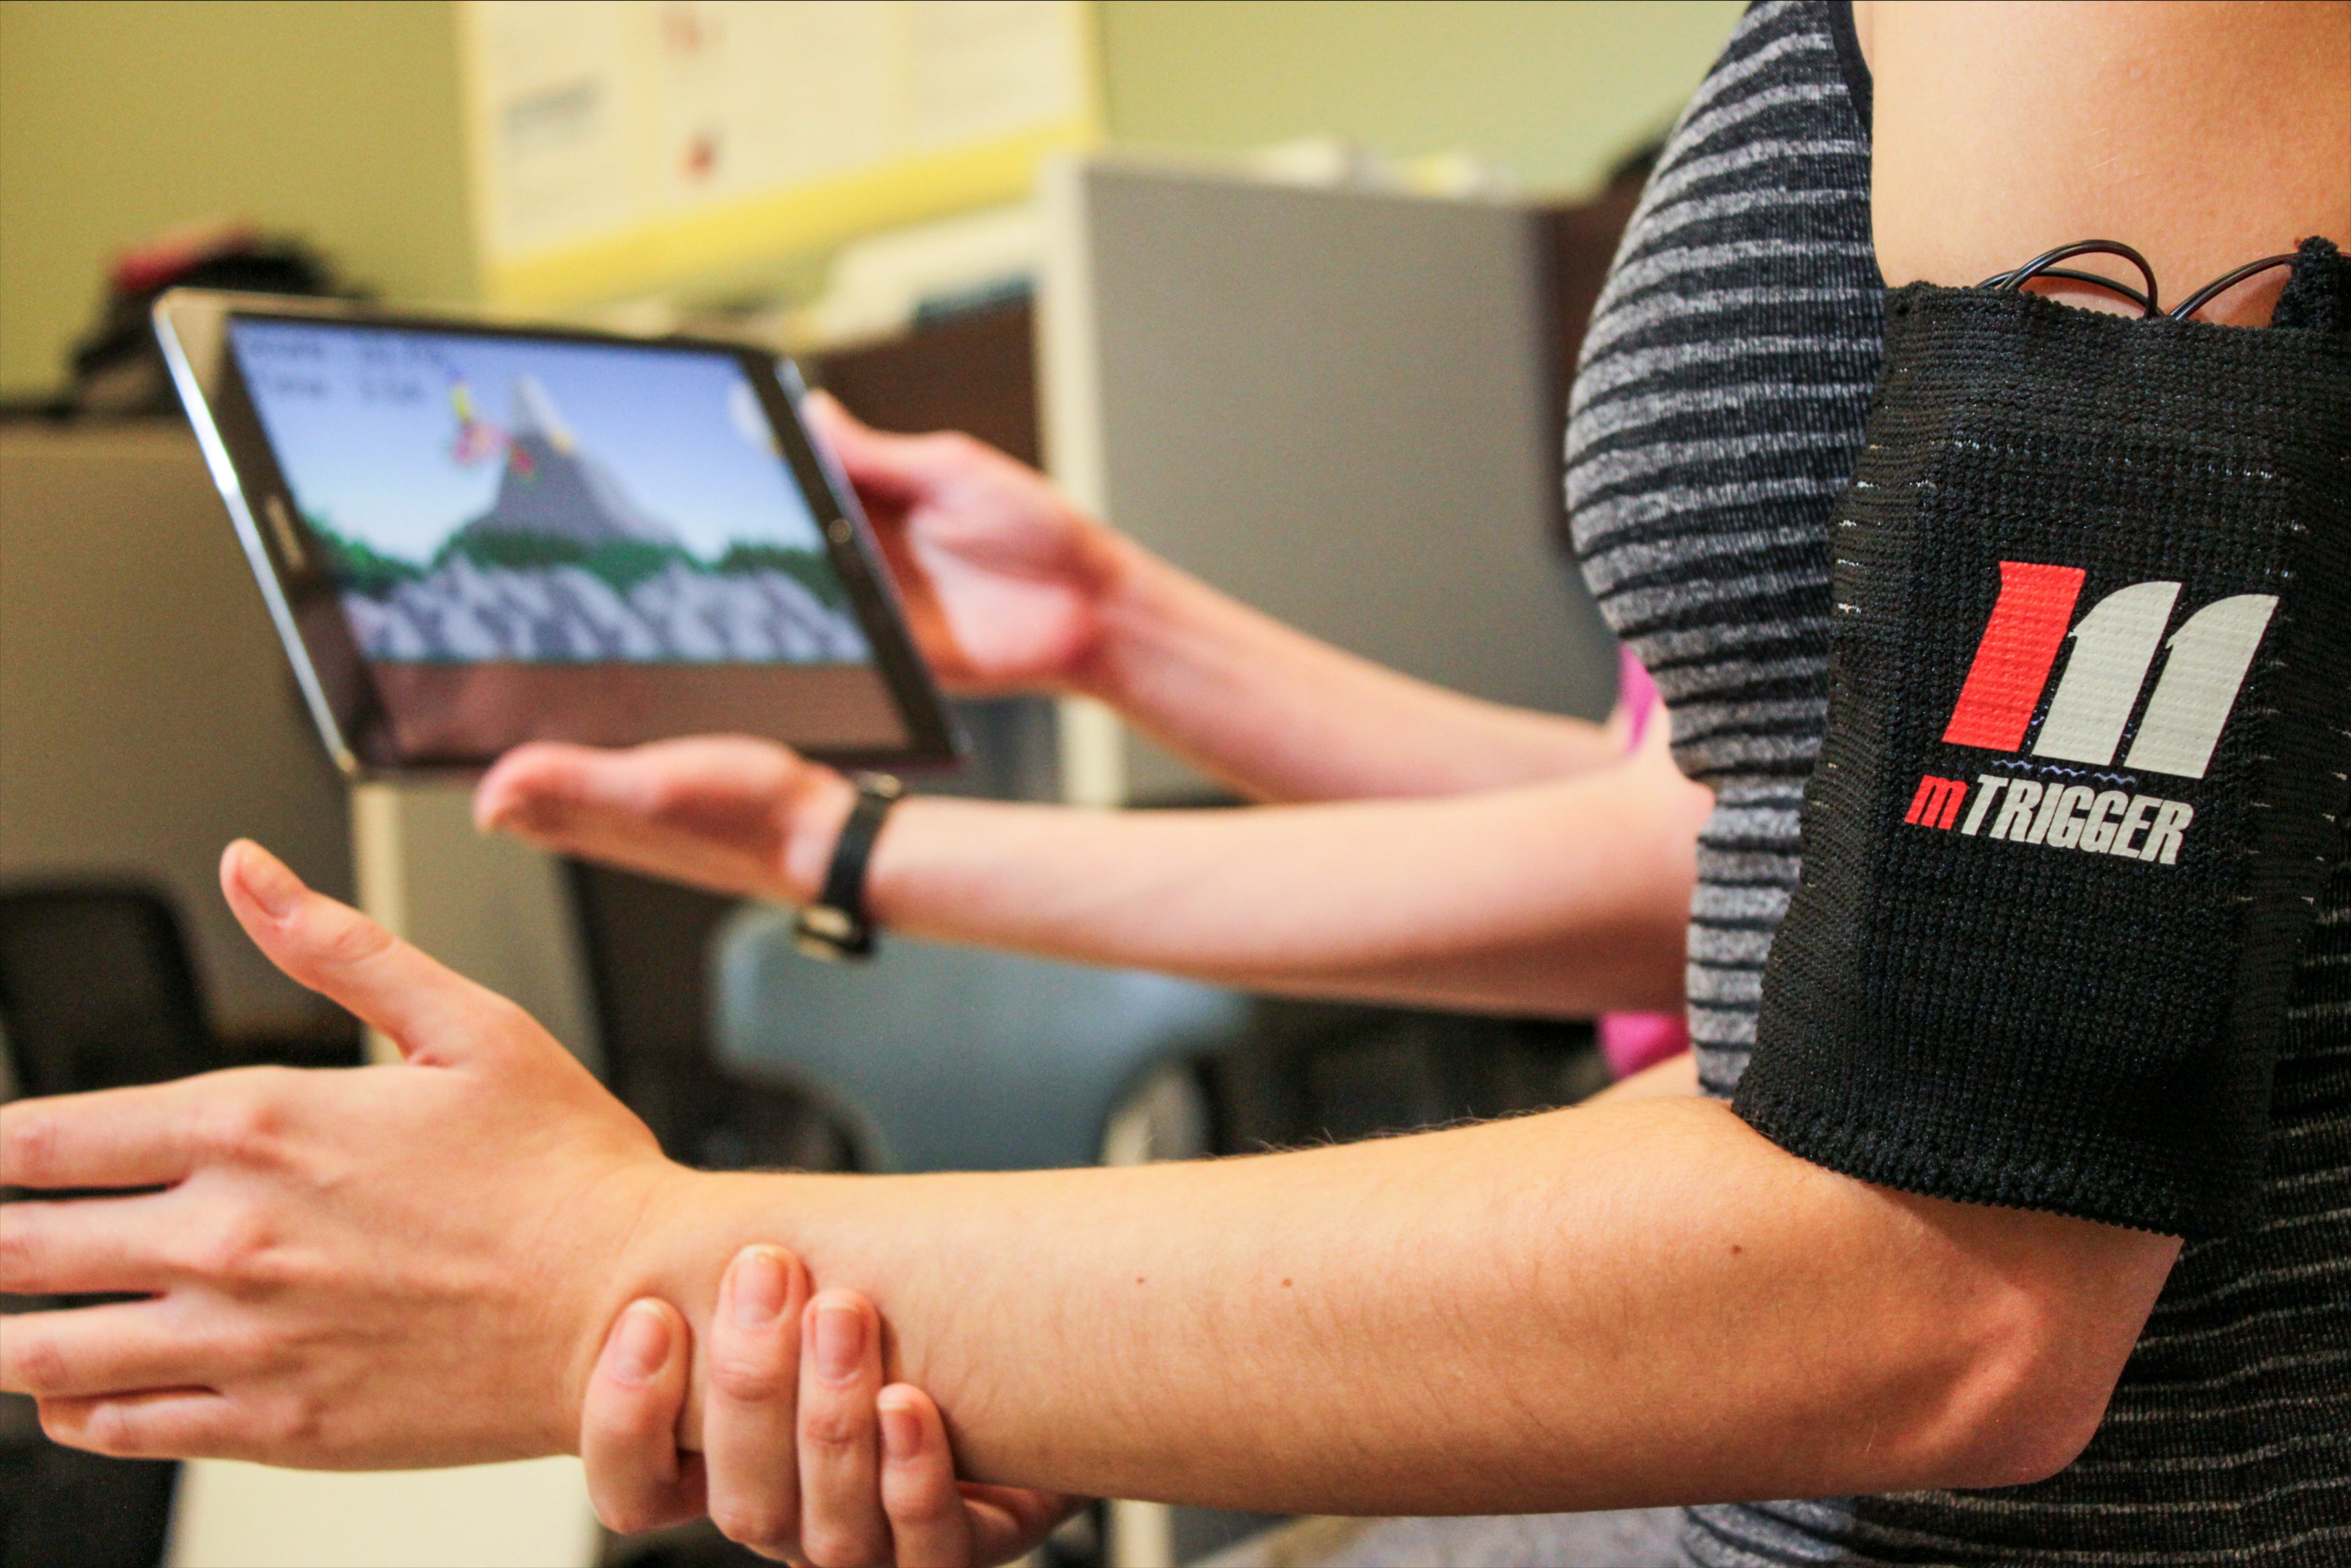
One of the main purposes of the mTrigger device is to provide biofeedback to patients for improving muscle engagement and movement patterns. The visual biofeedback is designed to deliver real time information on how a patient is moving, allowing them to subsequently make adjustments and see how they can improve their performance.

Taking the same case as above, lets walk through the application of mTrigger biofeedback for improving patient compensation patterns during rehabilitation exercises. Using the same exercises as before, we now use the mTrigger device as a tool to help guide and improve the exercise movement.

Here is what that looks like step by set.

  1. As always, start by turning on and connecting the device.
  2. While the device is calibrating, determine if you want a single or dual channel set up and assemble your electrodes accordingly then place them on the target muscle(s).
    • We will start with the dual channel example with electrodes placed on bilateral glute max muscles. Channel 1 is on the LEFT side and Channel 2 is on the RIGHT side.
  3. Enter Settings to select dual channel, set your MVC goal, and adjust time settings.
  4. Enter Train and instruct the patient on how to perform the exercise.
      • This time give them more detail! Instruct the patient on what muscle you want to activate and how that will be seen visually through a rise is the activation meter.
      • In this example, I asked the patient to perform a plank hip extension exercise really focusing on keeping her core tight and lifting the left leg through the use of her glute muscle (and not her back). Here is what happened.

    • A huge improvement!

For the next example, we see the impact training with biofeedback can have on improving patient movement and muscle activation.

  1. The device is already calibrated. 
  2. Make sure the pads are placed over the glute med on the left side since we will be using a single channel set up.
  3. Enter Settings to select single channel, set MVC goal, and adjust the time settings.
  4. Back in Train  instruct the patient on how to perform the exercise.
      • Again, I ask the patient to perform a high step up with the weight in the contralateral arm. During the step up, I want her to focus on using her glute muscles to push herself upward and keep her pelvis level/steady. Here is the improvement we see. 

From here, it is key to use mTrigger biofeedback for additional exercises that will challenge the glute muscles and promote proper movement. Exercises like a side plank hip lift and rear foot elevated split squat are just a few examples of exercises that could be used to help the patient visually see their muscle activation or compensations and figure out how to correct it.

This last video is a great example of the realization mTrigger biofeedback can bring to a patient while they perform their exercise program. She can tell she isn’t performing the exercise correctly yet!

Summary

Using mTrigger biofeedback can help clinicians identify muscle dysfunction and movement pattern faults common in patients from injury, pain, or surgery. Furthermore, it can be difficult for patients to feel movement dysfunction and compensation, but once you see it with mTrigger biofeedback, it becomes much harder to ignore.


Biofeedback for Movement in Older Adults

READ MORE HERE


Read More on mTrigger for Movement 

CLICK HERE

Share This Article

Leave A Comment

Title

Go to Top