Electrode placement is one of many variables impacting sEMG readings, so here we go into detail about the importance of this sensing apparatus to the mTrigger Biofeedback System.
Best Practices for Placement
- Parallel to muscle fibers
- The electrical current that stimulates muscular movement runs through efferent neural axons, moving distally from the central nervous system to the peripheral nervous system
- By placing our electrodes along the muscle fibers, we are able to pick up the differential signal between the two sensing points (the electrodes) along its line of travel
- See the featured image at the top of this article. Note the orientation of the electrodes in relation to the differences in muscle fiber orientation in the upper, mid, and lower trapezius muscles. This is a great example of placement that will minimize crosstalk between muscles!
- On the muscle belly
- Avoiding tendons and insertion points allows us to access the greatest density of motor neurons and take in the most activity
- Checking your placement
- In small areas where you may cut or fold electrodes down to fit two onto a muscle belly, you can check your placement by entering the Train module of the mTrigger app. See if you are getting a signal when you would expect to during a movement/rep. Add light resistance to increase activation if needed. To ensure you aren’t picking up activity from a non-target muscle, with your current electrode placement, perform a movement that would isolate the non-target muscle (antagonist, nearby co-contractor), and check the display to confirm minimal activation in the target muscle.
- For muscle groups
-
- You have the option to look at the whole group, or look at an individual muscle:
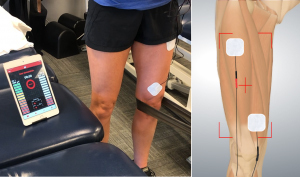
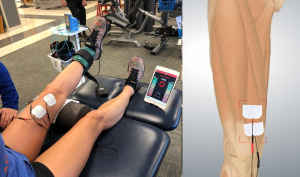
For example, if you want a picture of activity across the whole quad, try a placement like this Isolated placement: The photo on the left shows two channels of input monitoring the medial and lateral quads; the diagram on the right shows isolated monitoring of the VMO.
What Makes Them Custom?
- Built to sense, not stim
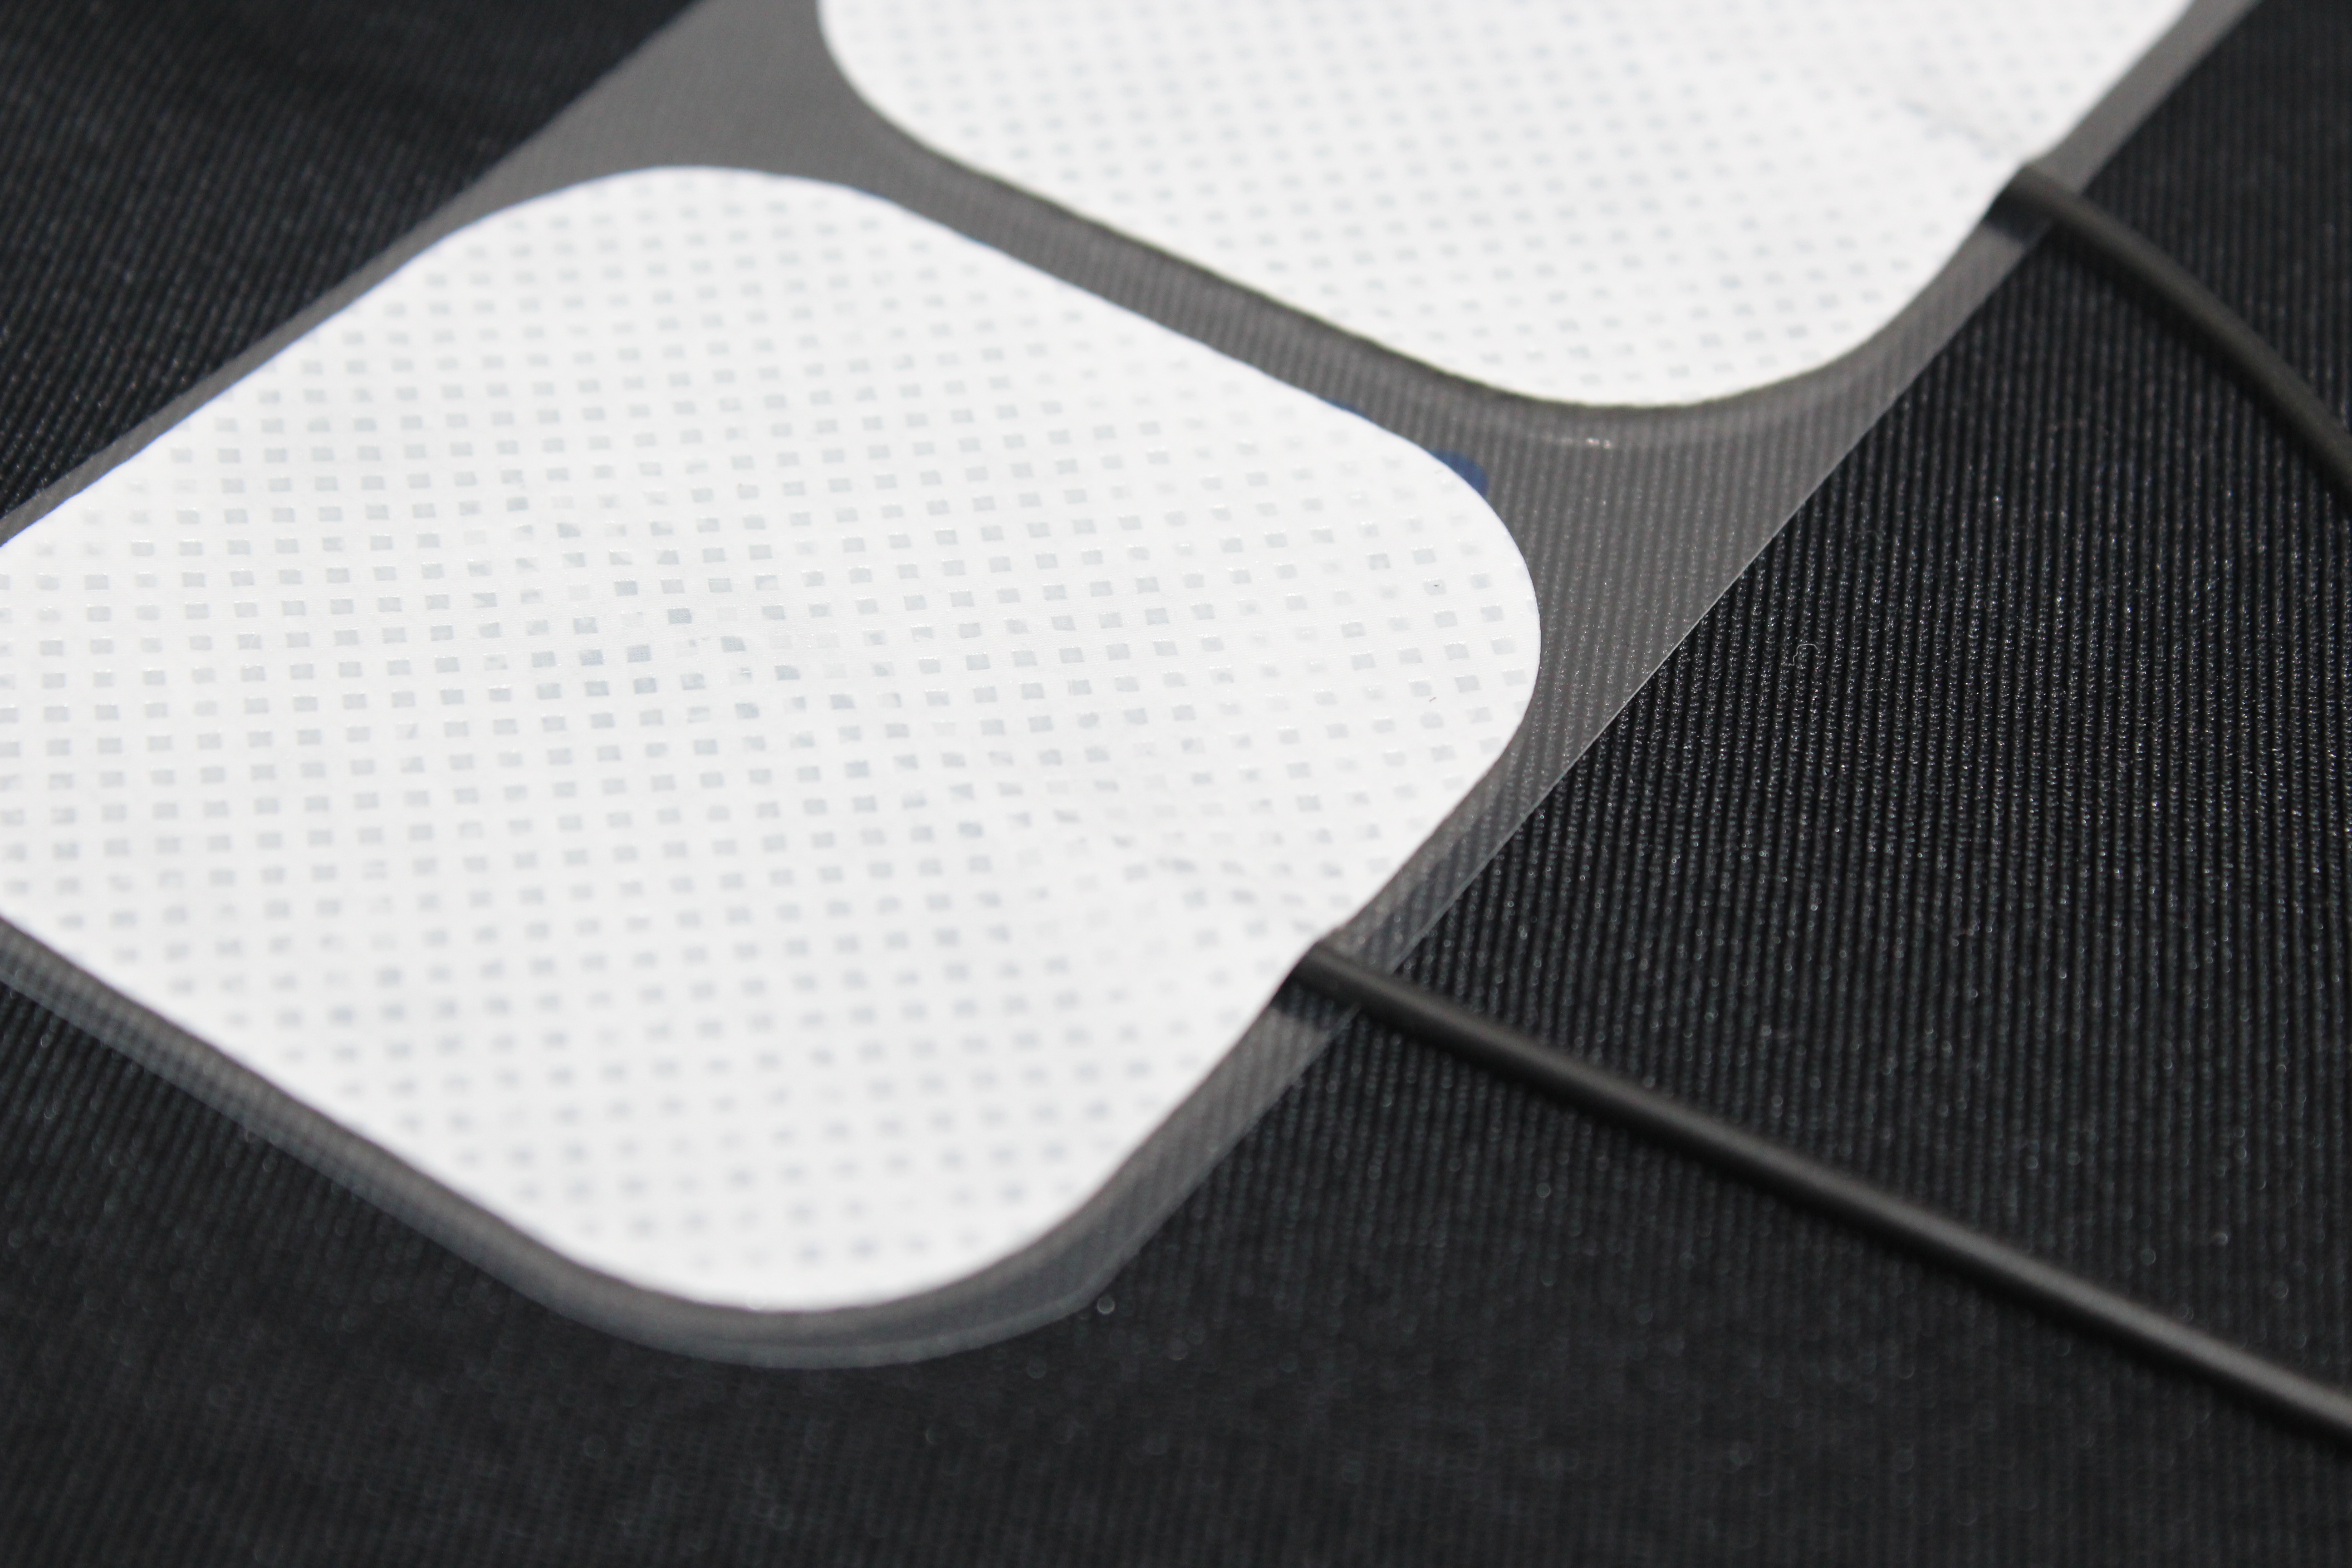
- Adhesive sensing gel and dispersed sensing array are optimized to read, not apply, current
- Compared to the central plate you will see in many “combination” or stim electrodes, this allows us to pick up data over the full surface area of the electrode
- Custom connector with built in shielding stabilizes signal
- Ability to cut down to size
- Perfect your targeting by reducing the size of each electrode so that two electrodes can fit on the target muscle belly without touching (see best practices for placement below)
- Cut down as small as you’d like without removing the lead stem
- Note – reduced surface area will reduce adhesion to skin, so you may need to secure cut electrodes by taping or wrapping to improve skin contact
Takeaways, Additional Resources & Reminders
- Reference our Suggested Electrode Placement database
- When in doubt, think of where you are trying to see activity spatially
- Be flexible! We do encourage minimizing session-to-session changes by keeping placements as consistent as possible (perhaps take photos of placement to reduce error), but placement is not set in stone. A small difference in placement is not going to invoke a huge change in signal, and without the element of stim there is no risk to making adjustments in real time to get the perfect placement for each specific patient and exercise. It is an art – but you’re an informed artist!
Happy sensing!
For more on best practices:
Visit Setup & Training Page BUY ELECTRODES Let us know what you’d like to see more of on our blog by commenting below or getting in touch
-



Leave A Comment